Tuesday, June 19, 2012

Batrep 200AP Battle at Melvin's Place

Played another 200AP game over at Melvin's place. Bidding on the battle builder, we have the following in place. 

Elimination (i.e. Kill points) and Force Collision deployment. We used our Cities of Death terrain and all was set. We had 2 new gamers we were introducing the game too! Welcome guys! 

The following were taken from our game with a summary at the bottom of the picture. 

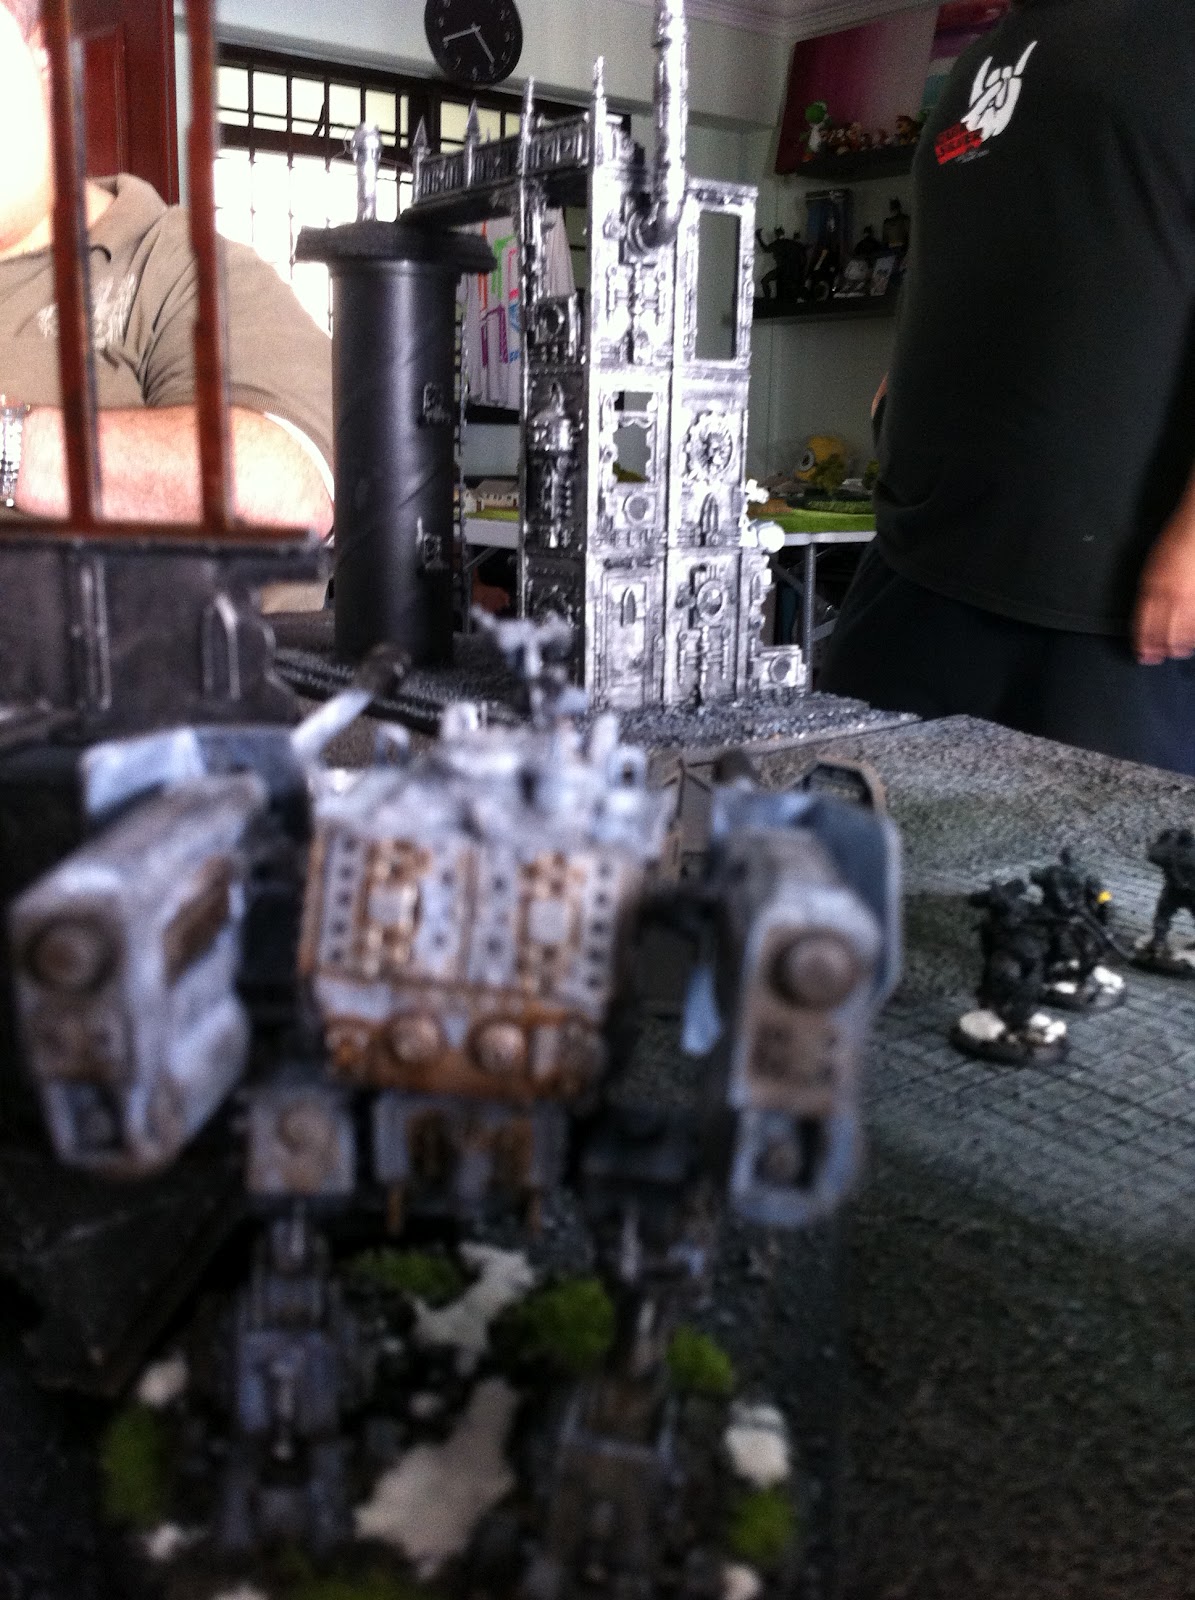
Tank vs tank battle. This was going to keep going on! Right in that building Melvin hidden his Command Squad

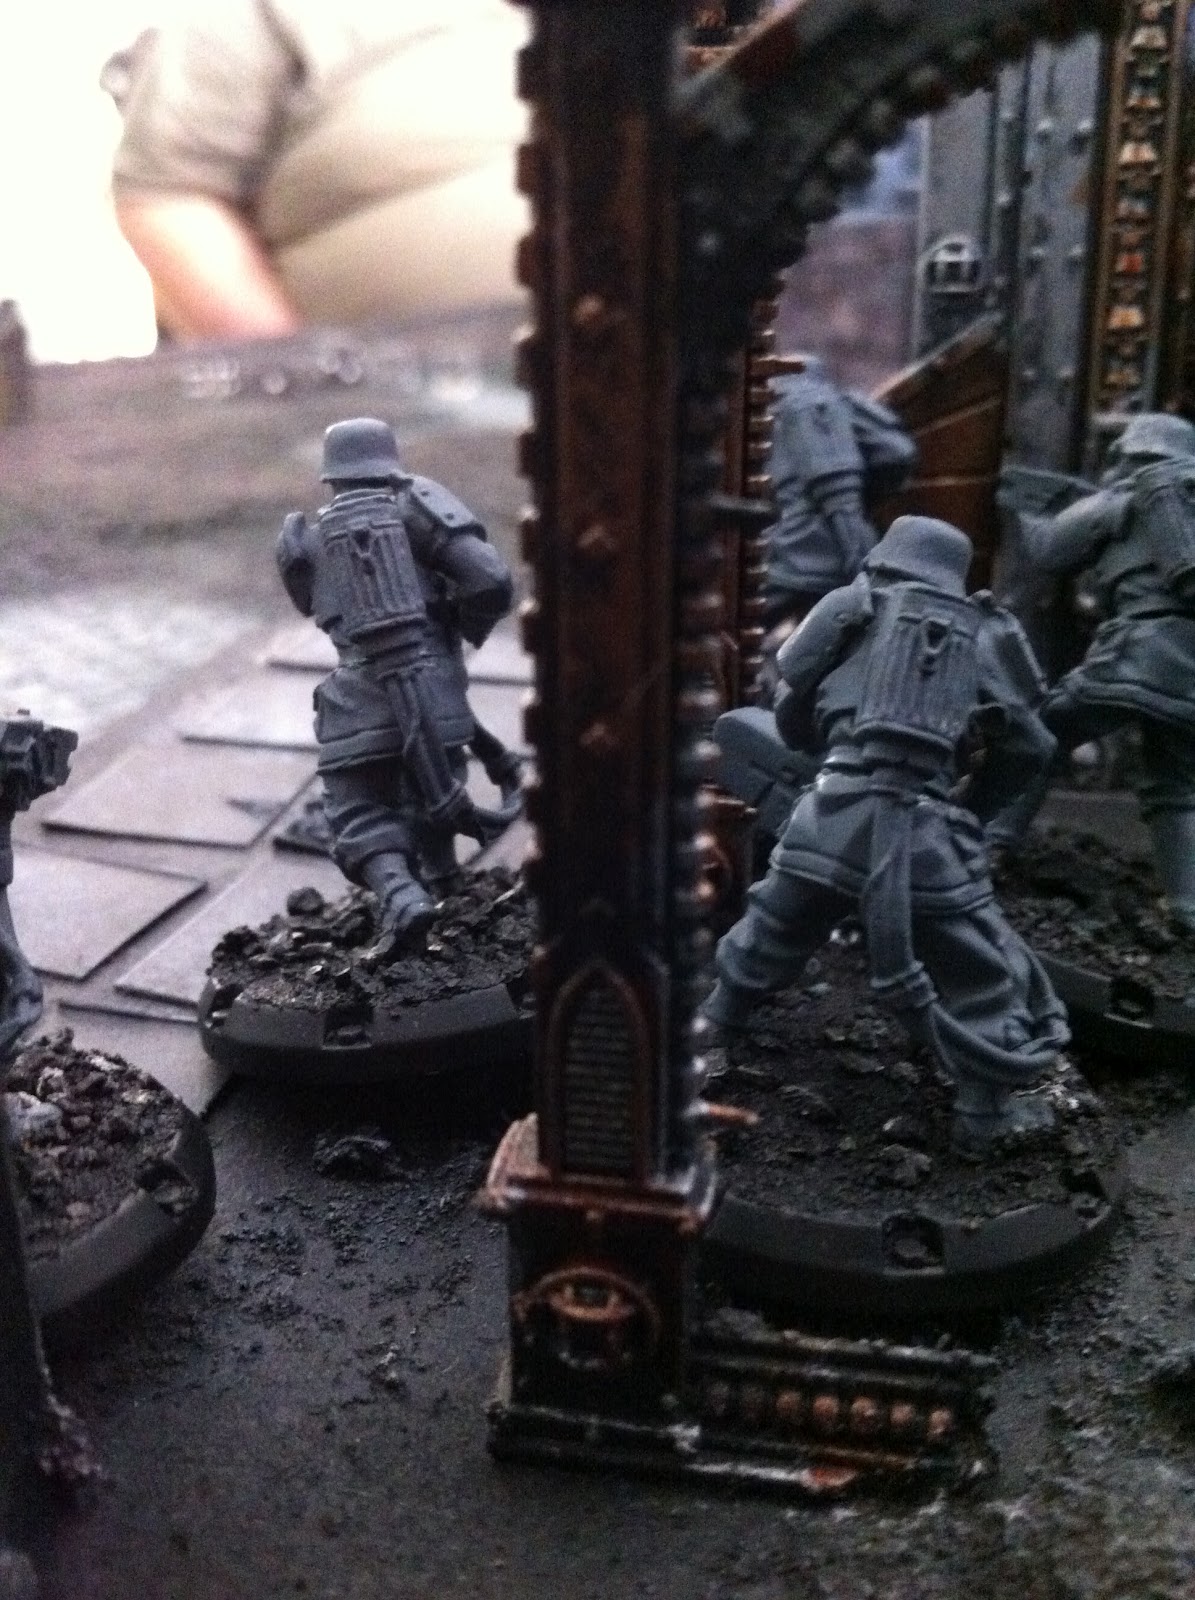
My sniper team took up position at the top of the Shrine of Aquila. First shot killed off one jump member

Ran them into cover and started hunting his tank together with my Ludwig. 

My Laser Grenadiers held on to this building for 1 turn before moving out to take a shot at his jump pack unit just around the opposite building. In true Laser Grenadier form they managed to take out the entire 3 man squad. Pretty impressive. 

So Melvin then brought in these power fist guys "The Hammers" to take my Laser Grenadiers in return. Ouch. 

He moved them into the building to secure cover (we were playing Soft Cover within the building to simulate taking cover in the rubble). Then he moved them up to engage my Flingerfaust guys! 

Meanwhile he slowly moved his Heavy Ranger Tank hunting squad Tank Busters down my flank. I was not going to let him do anything so unleashed quite a number of shots from various squads suppressing the unit. 

A view from the top. You can see my Battle Grenadiers in the right flank supporting the Ludwig. Meanwhile the Command unit supports my Heinrich on the left flank. 

A closer view of the two walkers

Melvin disengaged his Hammer captain and moved him to engage my Heavy Laser Grenadiers to prevent them from taking out his tank. Unfortunately for him, my Heavy Laser Grenadiers managed to take one of his men out for none in return! 

The said combat

This would prove to be my mistake of the game. I risked the Battle Grenadiers out in the open  so that they can reach his walker on the other side. However combined firepower by his Command and the walker ensured that this unit was under heavy suppression.

Meanwhile in the middle of the table his Hammer unit was fleeing (when you have more suppression tokens than models, you flee when you activate). 

While on my right flank I lost my Battle Grenadiers giving Melvin that one point. Together with the Sniper unit, Melvin now had 2. I too had 2 from his jump pack unit from the middle of the board (can't recall what it was) and the Hammer unit which fled.

Stepped out of the building to support my Heavy Flak Grenadiers who were under some fire from his unit on the other side of the building. 

Now my Heavy Laser Grenadiers were in place but the heavy cover was proving too much a problem. 
There are a few things we relooked at after the game. The first being cover for vehicles. Based on the book, the tank can only claim cover when its BASE is completely within an area of terrain. Also, if the attacking unit can draw LOS to ANY PART of the target vehicles base without intersecting terrain, then it is in the clear and does not benefit from cover. Based on the game above, Melvin's tank and my tank would have only been able to claim Soft cover as opposed to hard cover.

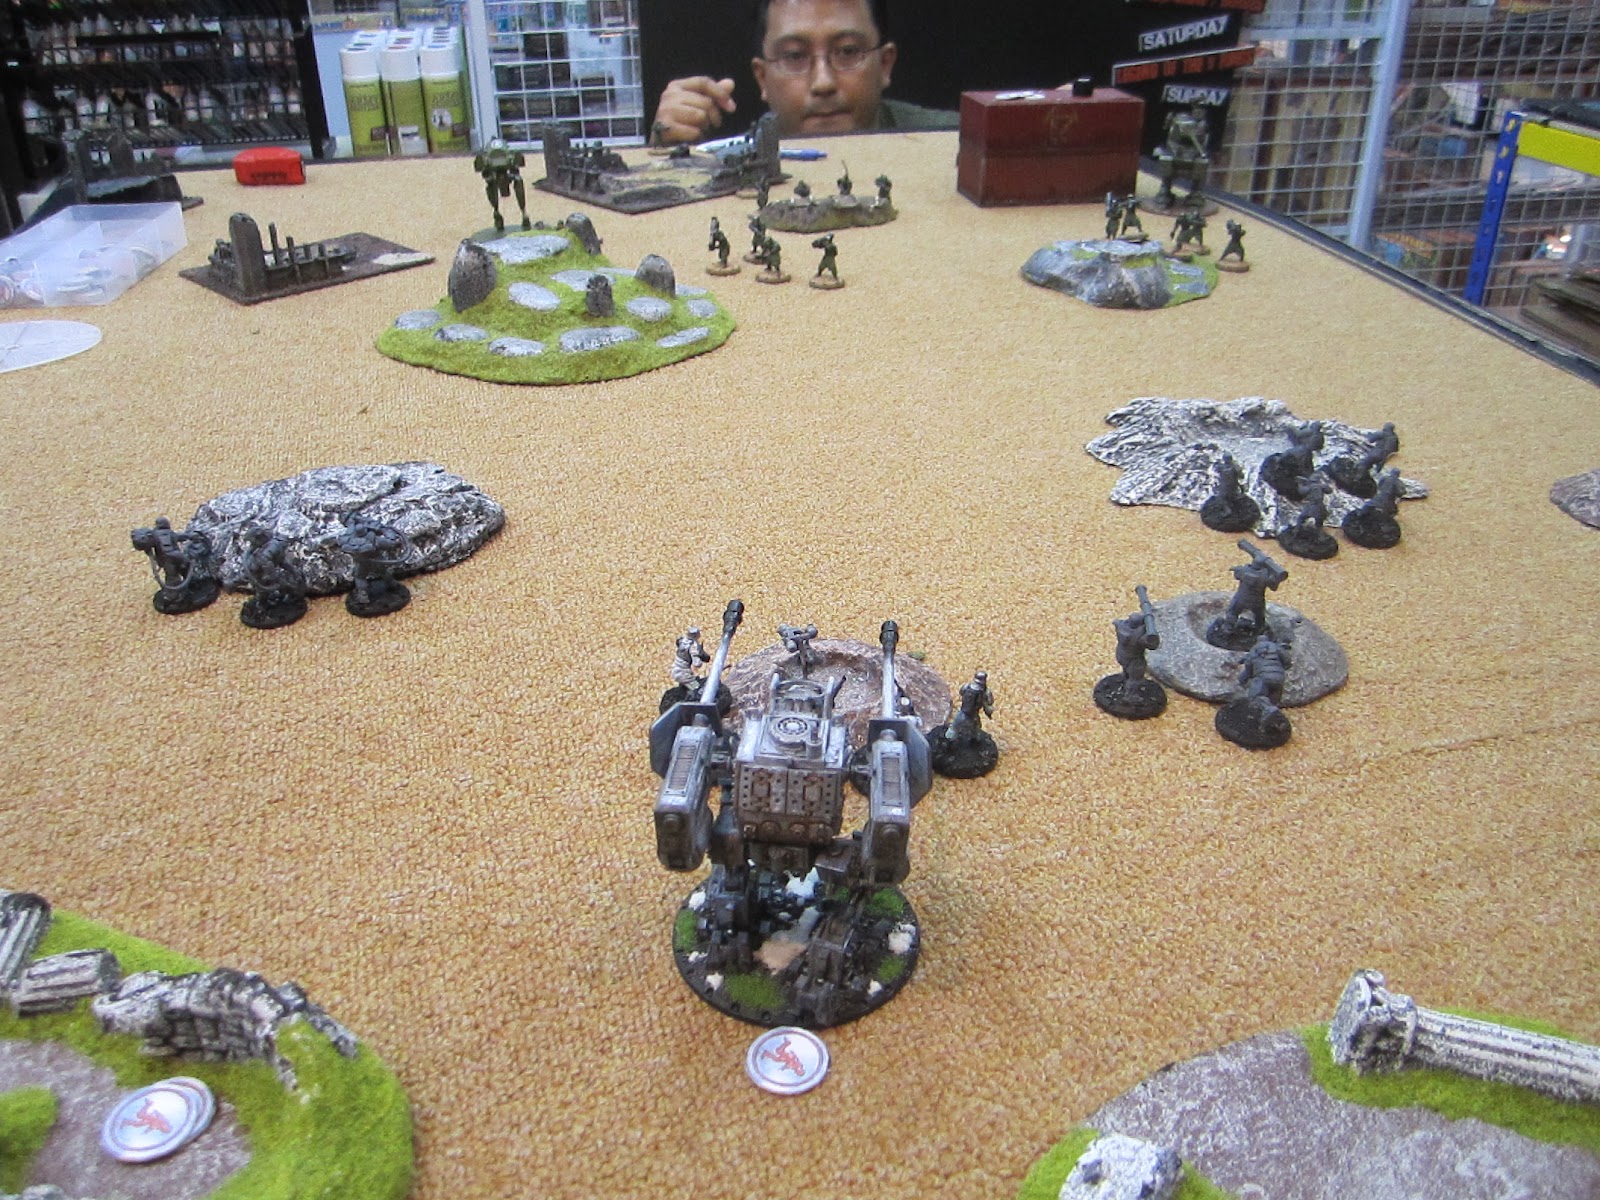
Quiz time
So we took a picture like that above after the game for a quiz. If you can see the above from your Ludwig, is the Allies walker in Hard or Soft Cover or none at all? 

Sunday, June 17, 2012

Stormtalon – Ravenwing wip 4 (LED's wired up)

highlights, details are done being painted. Decals were applied with mr. marksofter then painted over the transparent edges to get rid of the gloss on the decal graphic. I walked over to some guys digging a hole for road maintenance and scooped up some sand. I swear they gave me the oddest look. With that I managed to base my stand. Added a bit of GW 40k architecture to the base to give it more feel. Techmarine pilot was done up along with the cockpit. I wired up a red micro LED to give it the low light illuminations mimicking those of real gunships. Will be working on some battle damage next before I matte spray the whole model. Stay tuned! I'll be working on highlighting and detailing up an old ravening wing army I bought as an ongoing log.

Stormtalon – Ravenwing wip 3

Thursday, June 14, 2012

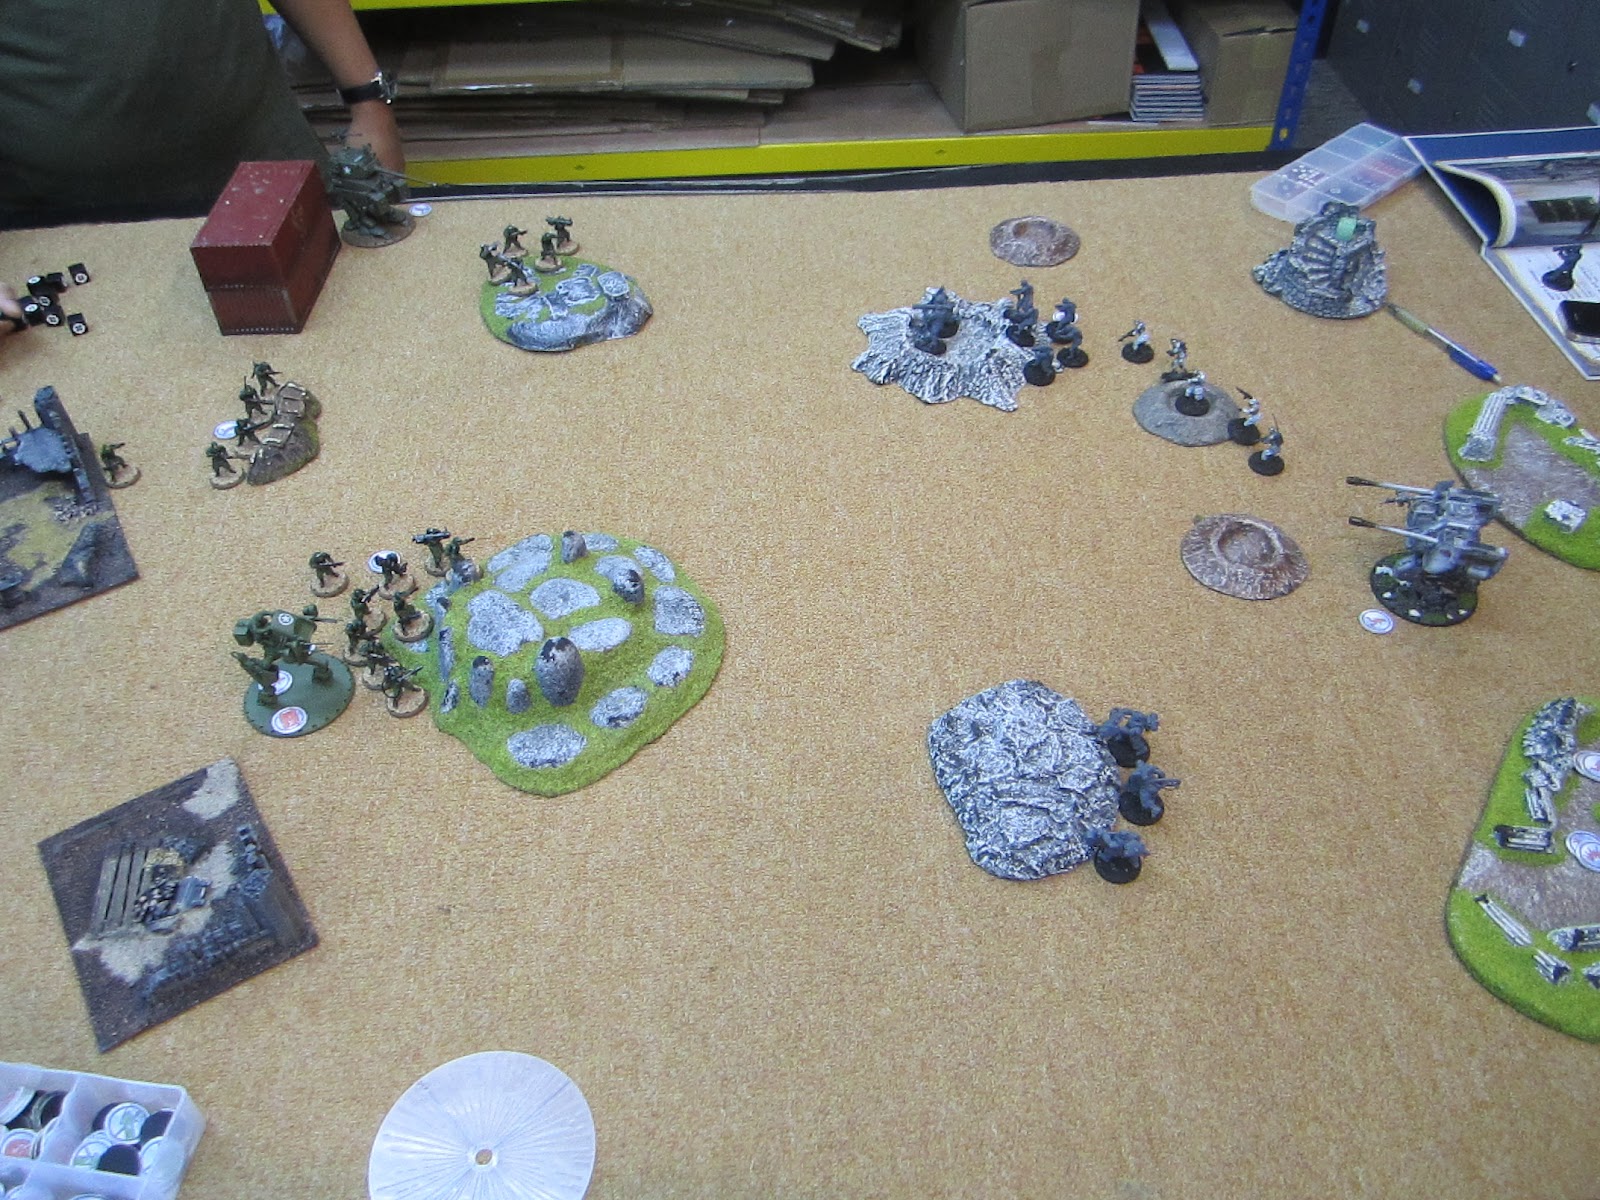
Batrep: Dust Warfare 150AP with Abdullah

Had our usual game over at PI on Monday (Dust Warfare night) with Abdullah. 150AP aside this time with more terrain as PI brought back the terrain from SPORECON 2012. Using Battle Builder we came up with Key Position and Force Collision. 

So we both had to secretly nominate 2 terrain piece each and then mark it on a paper. We have to capture this using our Unit Leader and not vehicles by the end of the game. Each are worth 1VP but if you capture your opponents' objective (it's secret so you need to guess by looking at his deployment), their Objective is worth 2VP. 

I took the left side of the field and hid my Ludwig behind a tall crumbled wall

While the rest of the army deployed behind my Infantry 3 units. My objectives are actually the 2 craters - one with the dice and the other one the larger crater up front. I planned to advance and capture one of his. 

Just another view of my deployment

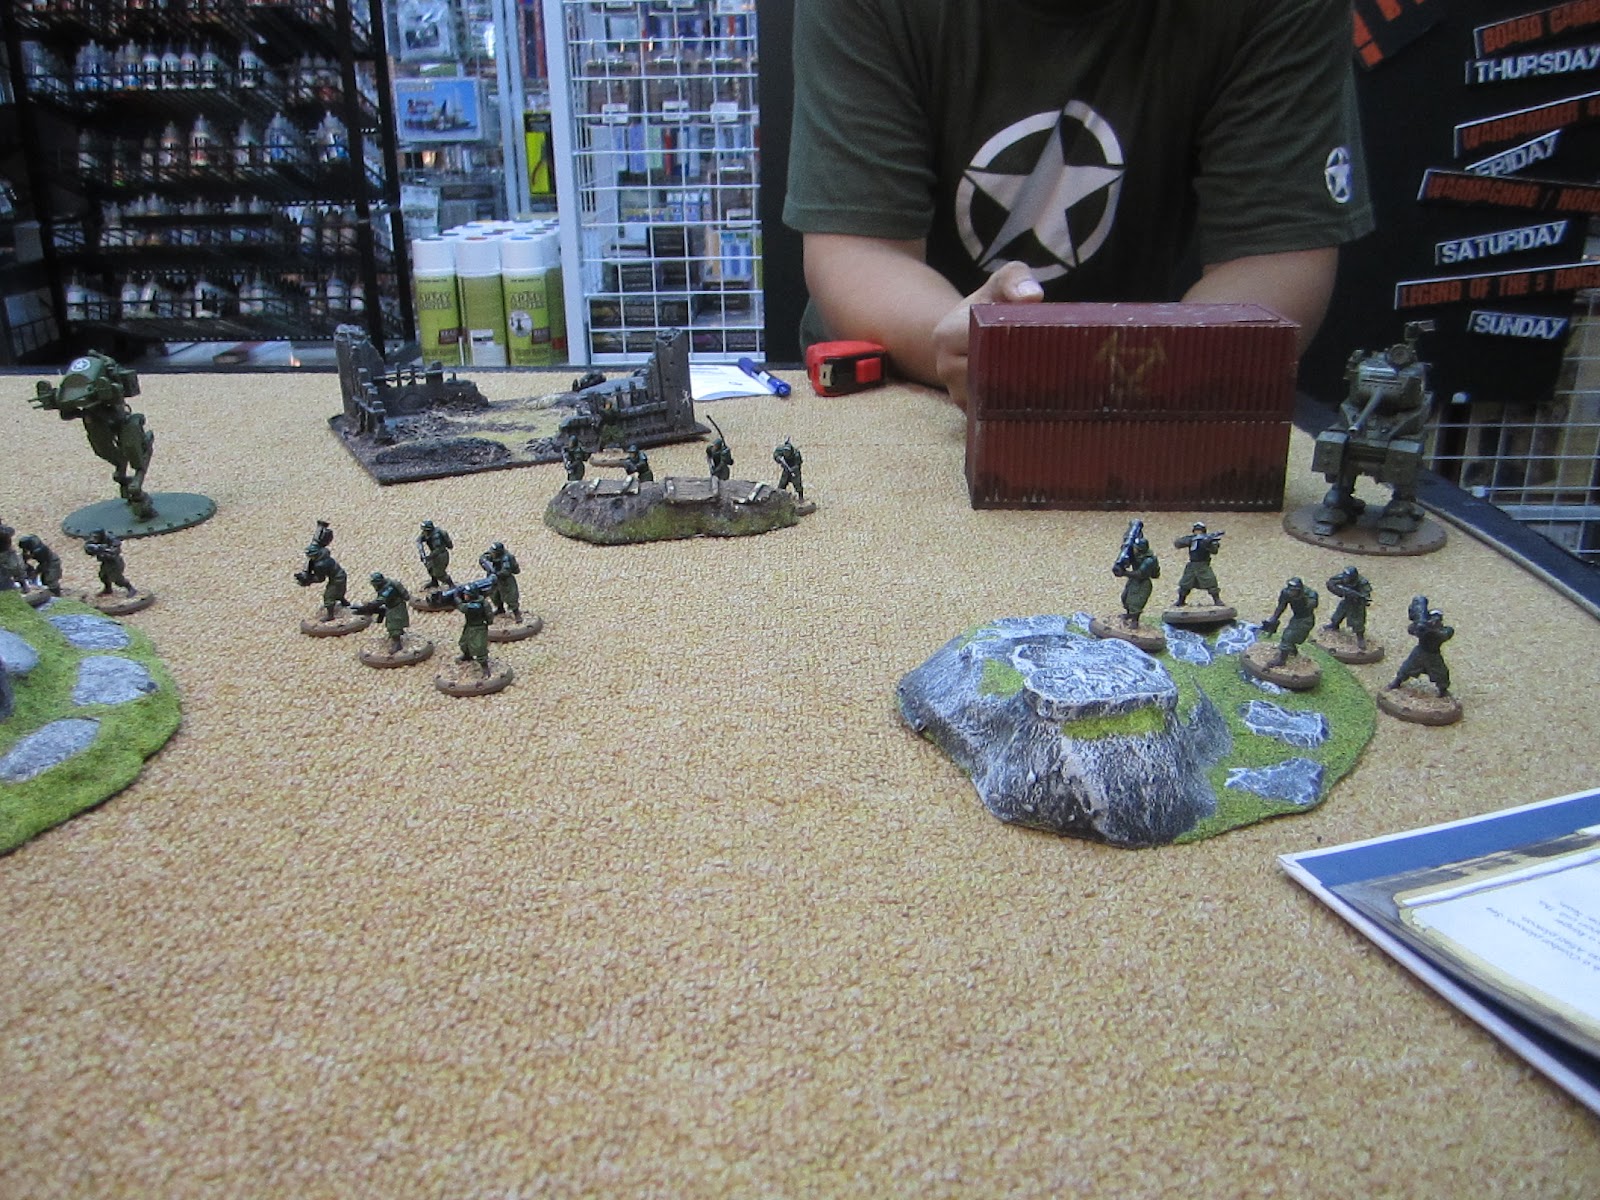
Abdullah deployed his army behind the strangely familiar looking crates.

I moved my units up quickly to gain as much ground. 

While this overpowered BBQ squad moves to counter my army on my left flank

I was second guessing and though this terrain on our right was his objective with so much support coming from his walker. 

With his guys out in the open, I took aim and released! 

Said shot. Killed one man...

Abdullah returned fire to suppress most of my units

Gave the Blitzkrieg order to move them forward each turn. Putting my objective so far up was a bad mistake..

A view as we continue to jostle for position. My left flank was held only by the Heavy Laser Grenadiers. They were the perfect counter against his Light Walker

Using my Ludwig as my anchor, I tried to hold on to my objectives as much as I could

Sent my lone machine gunner from my Command squad and summarily executed his man on the hill

Light Walker then returned fire into my Command Squad

In Abdullah's Turn 4 he managed to roll incredibly well destroying most of my army! 

With nothing much remaining, I consolidate my position into my crater. At the end of Turn 5 this was all that was left of my Germans. Ouch!  
Underslung Grenade Launchers and BBQ squad are really powerful! BBQ squad especially. With a 12" move, it really mitigates his short range. Coming into well over 10+ dice against Inf3 is amazing! I have another list in my mind and I will put it together for the next game which is likely going to be 300AP. Talk about escalation. 

Wednesday, June 13, 2012

Battle Report: Dust Warfare

Had a good game with Melvin today. 200 AP a side with Melvin playing Allies and myself, the Axis. Great terrain since this was his house. 

Also, this was Melvin's 3rd game so we took it easy. There was a major error too as we forgot that Radioman only affects 1 unit but Melvin was giving commands to his units way beyond the 12". We played on anyway as it was in Turn 4 that we realised this error. 

Mission was Eliminate the Enemy (KP for each unit destroyed), deployment was 24" in quarters.

Deployment from my table edge

I took the corner building and put my Sniper at the 3rd level while the rest of the army deployed behind this building. I planned to take out 1 or 2 units as he closed in due to my superior range of 30-36"

Meanwhile Melvin spread his units out

Inf3 so I deployed them further forward

First Turn moves. Nothing much happened on my side.

While Melvin moved up most of his units. His walker moved up to engage my walker

Hugging terrain, Melvin used it to his advantage


Meanwhile he moves up more of his units on the right flank in Turn 2. I took out one of his men using  my Sniper so they moved ASAP behind the terrain

Heavy Laser and Flak tried to take out the unit in front but they were blessed! One guy stands alone.

At the end of Turn 3 I spread my Command unit out to try to repair my heavily damaged Ludwig (3 wounds from 1 shot). 

Managed to remove one pip of damage. I moved my Ludwig back to my lines. I had little motivation to engage him as he crossed the open areas. 

Meanwhile these same guys keep the pressure on still unable to kill him!


Combined fire from Sniper and Ludwig reduced this unit to 2 men. I poured all fire into this unit

Finally in Turn 4 I managed to kill off the single man standing in the open. Melvin started moving his other units behind the rear building to take out my Heavy Laser Grenadiers. Melvin won back 1AP and it was now effectively draw at Turn 5.

One last man standing from that unit so I moved my last unit into the open to engage him. Rolled 6 dice  and managed to generate 4 hits. He was toast~! 
Barely managed to scrape a win here but it was good fun although I felt that I have to move about a little more. The building while was very powerful meant that the game was a little static since I didn't move out all, depending on my guns from long range. This was after all my first 200AP game so I may have played a little defensively. 

LinkWithin

Related Posts Plugin for WordPress, Blogger...