
Played another 200AP game over at Melvin's place. Bidding on the battle builder, we have the following in place.
Elimination (i.e. Kill points) and Force Collision deployment. We used our Cities of Death terrain and all was set. We had 2 new gamers we were introducing the game too! Welcome guys!
The following were taken from our game with a summary at the bottom of the picture.
 |
| Tank vs tank battle. This was going to keep going on! Right in that building Melvin hidden his Command Squad |
 |
| My sniper team took up position at the top of the Shrine of Aquila. First shot killed off one jump member |
 |
| Ran them into cover and started hunting his tank together with my Ludwig. |
 |
| My Laser Grenadiers held on to this building for 1 turn before moving out to take a shot at his jump pack unit just around the opposite building. In true Laser Grenadier form they managed to take out the entire 3 man squad. Pretty impressive. |
 |
| So Melvin then brought in these power fist guys "The Hammers" to take my Laser Grenadiers in return. Ouch. |
 |
| He moved them into the building to secure cover (we were playing Soft Cover within the building to simulate taking cover in the rubble). Then he moved them up to engage my Flingerfaust guys! |
 |
| Meanwhile he slowly moved his Heavy Ranger Tank hunting squad Tank Busters down my flank. I was not going to let him do anything so unleashed quite a number of shots from various squads suppressing the unit. |
 |
| A view from the top. You can see my Battle Grenadiers in the right flank supporting the Ludwig. Meanwhile the Command unit supports my Heinrich on the left flank. |
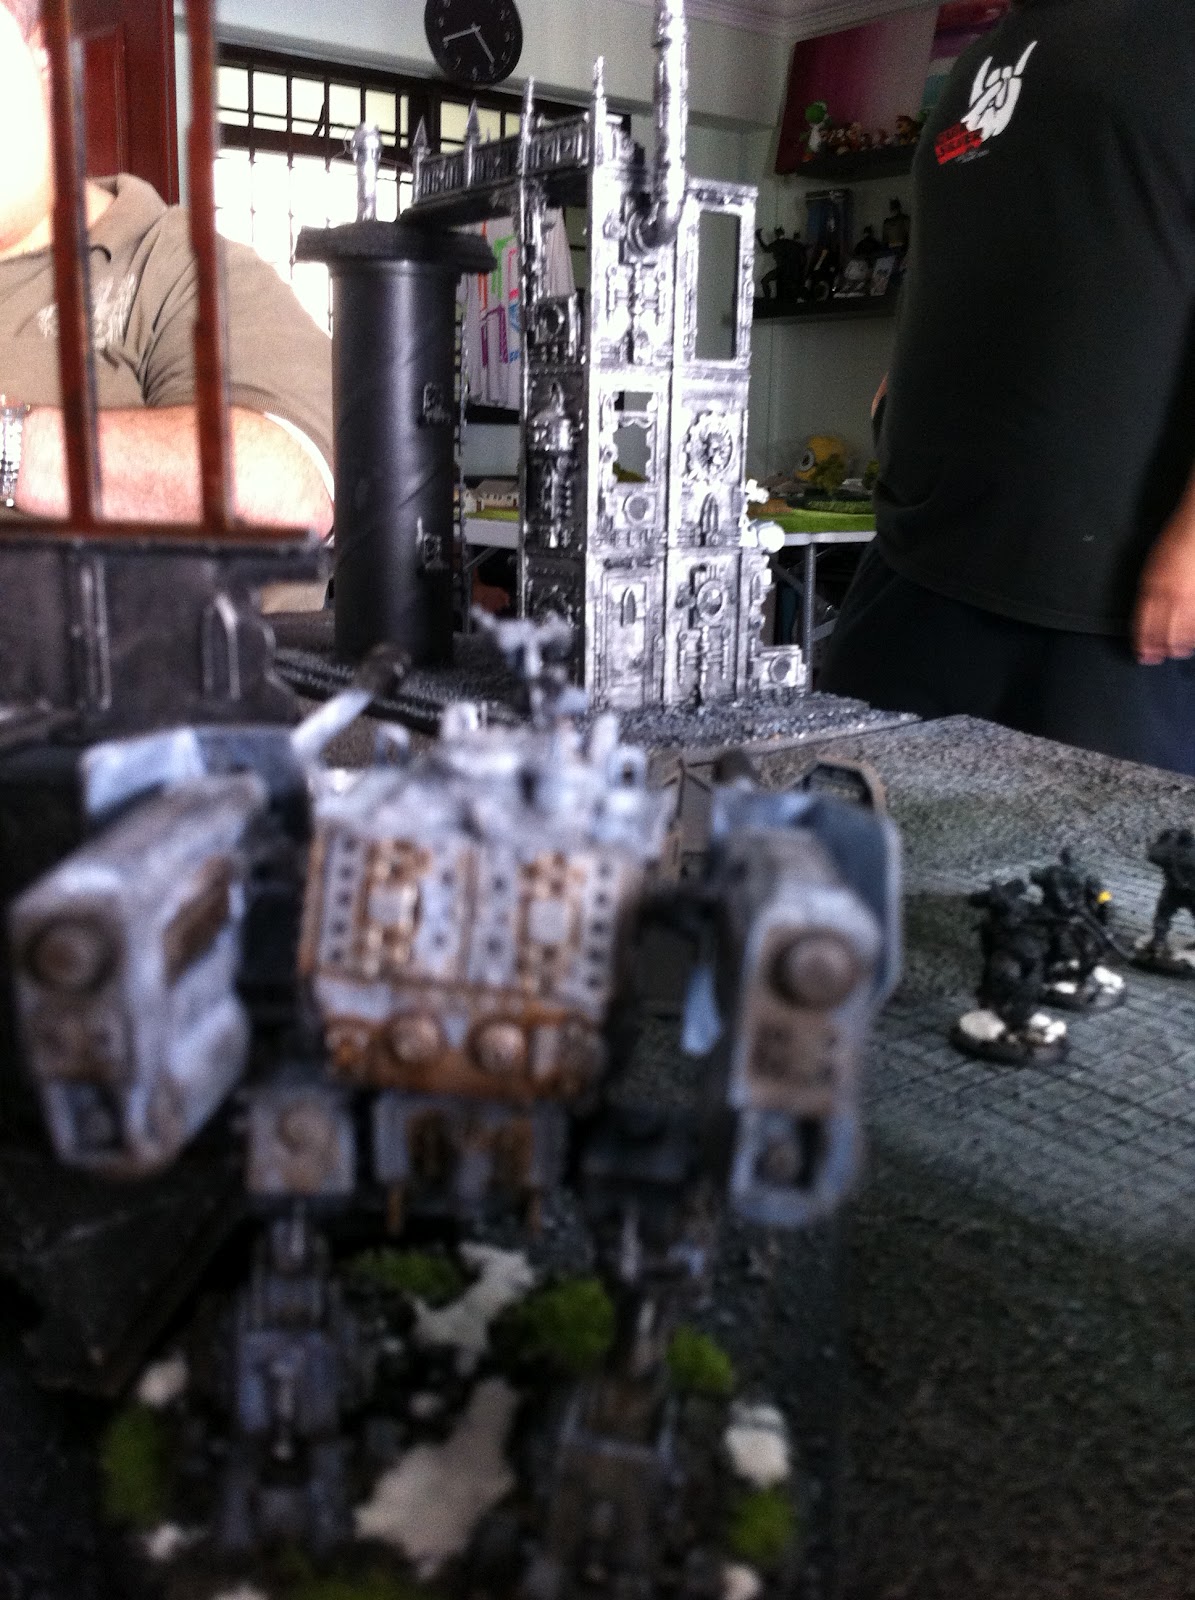
 |
| A closer view of the two walkers |
 |
| Melvin disengaged his Hammer captain and moved him to engage my Heavy Laser Grenadiers to prevent them from taking out his tank. Unfortunately for him, my Heavy Laser Grenadiers managed to take one of his men out for none in return! |
 |
| The said combat |
 |
| This would prove to be my mistake of the game. I risked the Battle Grenadiers out in the open so that they can reach his walker on the other side. However combined firepower by his Command and the walker ensured that this unit was under heavy suppression. |
 |
| Meanwhile in the middle of the table his Hammer unit was fleeing (when you have more suppression tokens than models, you flee when you activate). |
 |
| While on my right flank I lost my Battle Grenadiers giving Melvin that one point. Together with the Sniper unit, Melvin now had 2. I too had 2 from his jump pack unit from the middle of the board (can't recall what it was) and the Hammer unit which fled. |
 |
| Stepped out of the building to support my Heavy Flak Grenadiers who were under some fire from his unit on the other side of the building. |
 |
| Now my Heavy Laser Grenadiers were in place but the heavy cover was proving too much a problem. |
 |
| Quiz time |
No comments:
Post a Comment