
It's been awhile since I last painted my Adeptus Mechanicum Knight (as shown below in the centre). I took almost 15hrs (about a week worth of evening sittings) painting him up. Painted everything really slowly, exploring every nook and cranny of this amazingly detailed miniature. And after I finished him, I was officially burned out. I put him aside, along with the two other Knights that I had assembled. Not wanting to go near another knight model.

Well after almost a month since that happened I suddenly had the urge to paint up the sad knights quietly in the corner of my display cabinet. So I dusted off the airbrush and went to work on them. And in typical fashion I rushed through them and got them up in 2 days.
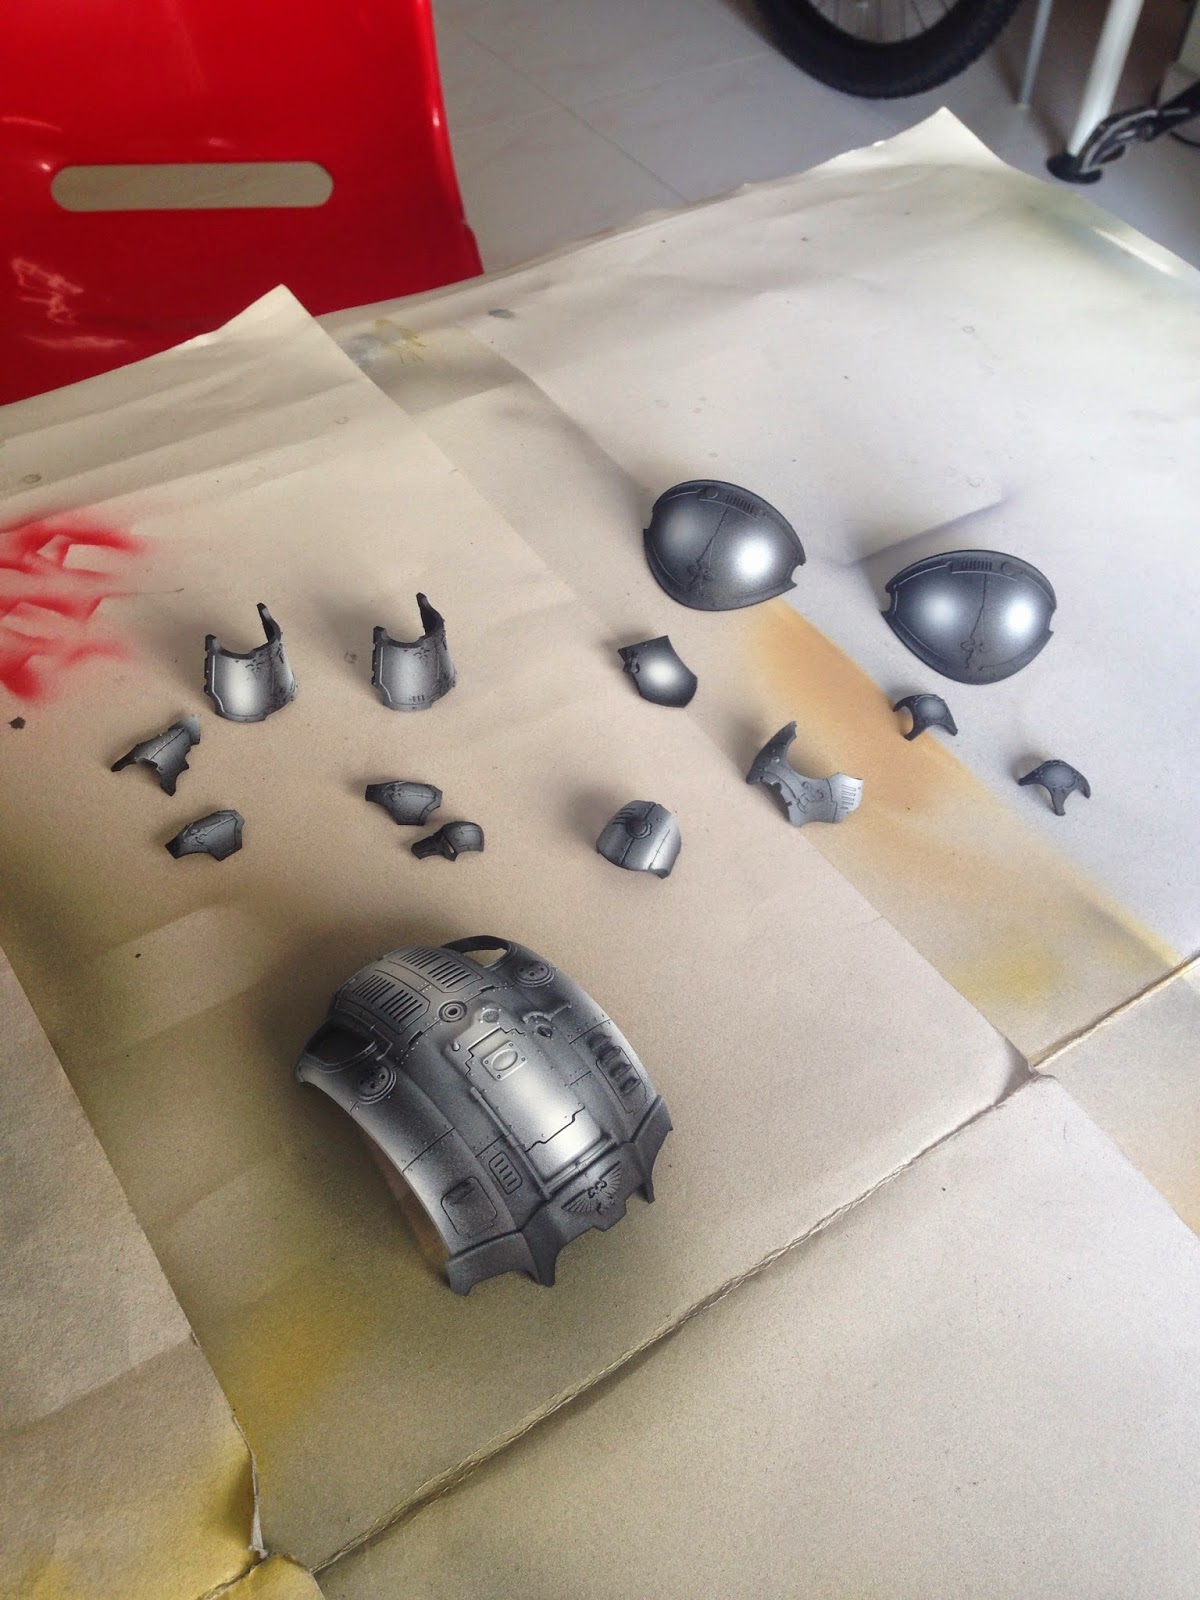
This was the part where a lot of the work was done very quickly, majority of the skeleton of the Knight was simply pure metal. I used the quick Zenithal method and went with Vallejo Model Air Aluminium (one of the best aluminium's out there!)

Next was something that I tried for the first time. Pre-Shading. All this while I have used my airbrush spraying on layers upon layers of lighter colours to build up the highlights. But with the success of my fellow gaming mates using the pre-shading technique achieving really smooth transitions I went to do a little research (Energie posted some links in an earlier post) and I was eager to give it a try.
One thing I could not come to grips with was how "messy" the pre-shading was done. With a white base coat then spraying in the "shades" or the blacks into the miniature. This felt like a very time consuming and tedious process all rolled into one.
Therefore I reversed the process (not laying claim to anything here I'm sure it's already been done before maybe) and I went with my usual black base coat, however spraying on the whites as highlights instead.
As you can see the results look similar to pre-shading the normal way but with a much neater outcome. The best part was it was done really quickly too.
The next step was simply applying the desired colour. In this case Vallejo Model Air Yellow and French Blue. Just a few even coats and the reversed pre-shading works its magic!

I then went one step further and applied highlights the traditional way. Just spraying a little of the lighter colours onto the raised areas for even more dramatic highlights. I used Vallejo Model Air White and Sea Blue respectively.
Once that was done I can safely say the armour work is complete!

Another view of the models after all the airbrush highlighting.

Here is the pic of the armour done. If you compare the first completed knight in the middle I did not use the pre-shading technique, you can see the less pronounced highlights on the red as compared to the yellow and blue knight. It's too late for me to go and do it again for the red knight. But it's all a learning experience I guess.
I then rushed through the detailing for the knights (using the experience I already had painting the first one) and I was amazed how much faster I was applying paint onto them now that the model is familiar.

The gold was done as the same style I did my Sanguinary Guards many years ago. A base coat of Citadel Mithril Silver. Followed by 2 coats of Citadel Gryphone Sepia wash. Always a quick and easy way to produce a nice shaded gold.

In the previous knight painting post I already talked about how wonderful the Knight transfers were. And here I am singing praises once more. Without them the Knights would never have looked so good.
Once the transfer were set in place the entire model just pops!

In my painting haste ( an easter weekend worth approx 8hrs) of rushing through the 2 Knights I completely forgot to take progress pics of the yellow Knight.
But here they are, all three Knights in their 90% painted glory.

No comments:
Post a Comment