Thursday, August 6, 2015

Tourney Prep: Tyranids vs Orks

Mark is a fantastic painter and collector. He has been catching up with me quite regularly last week and we discussed quite a bit on army composition. We then organised a game. 

This was mission 2, the Relic with Cloak and Dagger. Having played this mission before, I focused purely on the Relic as it is worth 15VPs.

Balanced Nid list

Orks with a ton of Battlewagons
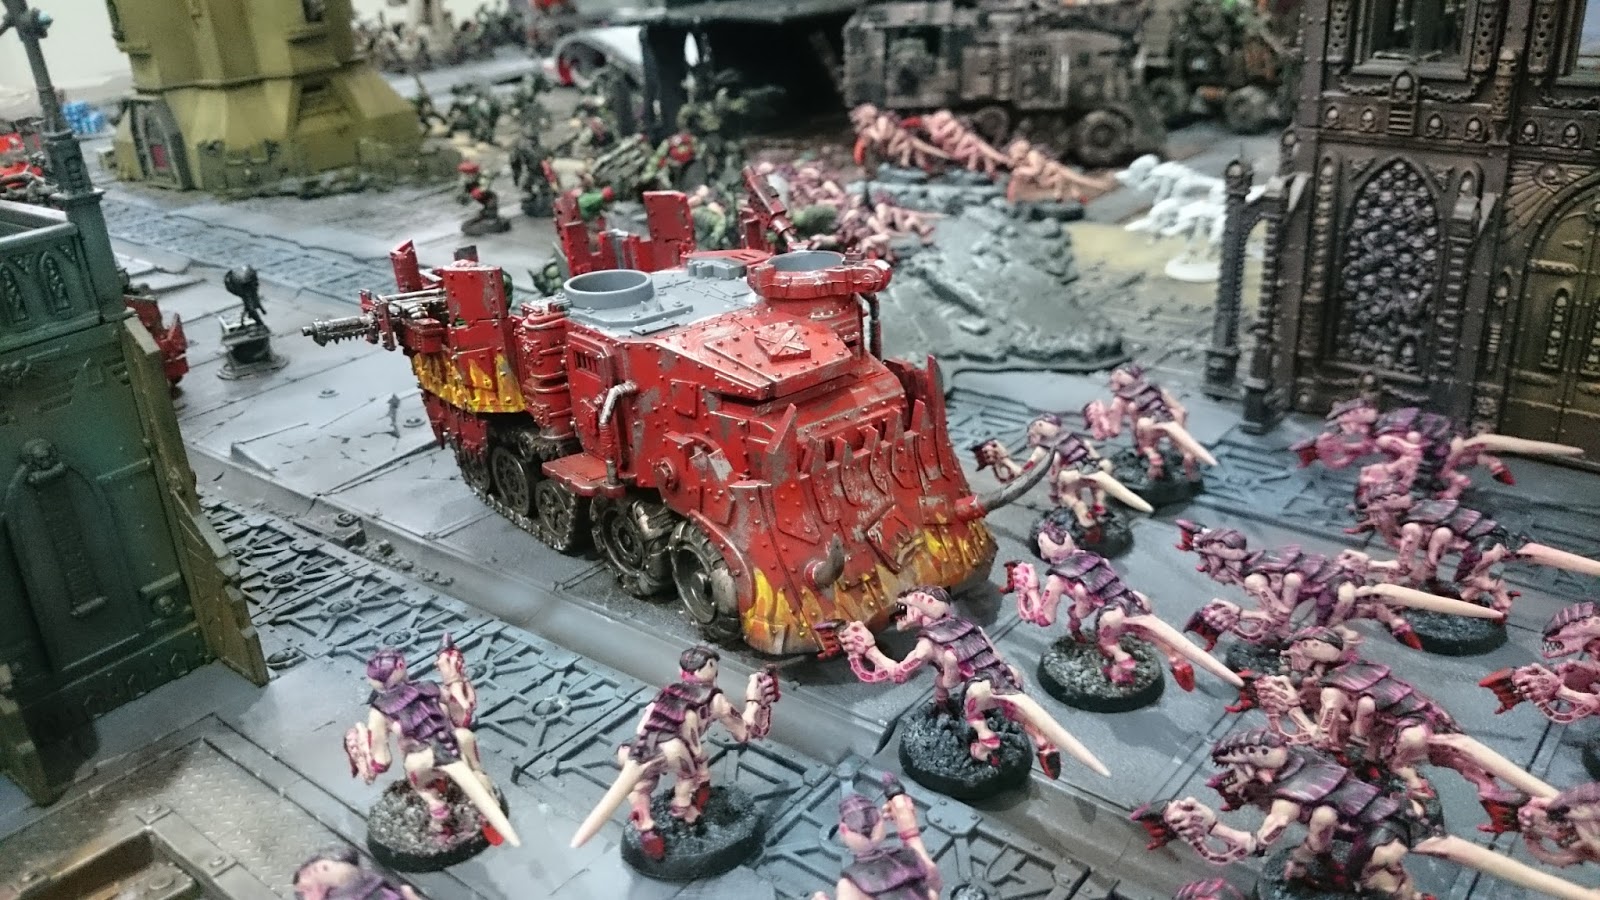
Mark brought a ton of Battlewagons and used the Trukks to proxy for them as his aren't fully built yet. His formation allowed him to Scout forward which he did.

Note: he only Scouted 6" when he could have done 12". Mark wasn't too familiar with the rules
Uh-oh, these Orks are hungry
Mark took the first Turn

Turn 1
The Relic was in the middle so Mark deployed his Orks out to block me

Orks didn't manage to kill too many from shooting

Rush for the Relic! 

I moved my Hormagants forward to prevent him from taking the Relic

And charged the Orks
With the Boss around the Boyz stayed in combat.

Turn 2
Mark moved his Battlewagon up to Tank Shock the Gants but they just moved out of the way
Here's where flamers would have come in really handy as my Gants would have been moved aside due to the Tank Shock.

The central fight was still ongoing.

My left flank
I felt that by splitting his Orks in two waves, it allowed me to handle them. If Mark had chosen to charge all in or deploy them all at the same time, there was little I could have done.

Tyrannocytes both came in and I sent them behind his lines

Taking these objectives and destroying some Buggies

Giving me some VPs

The Warboss now joined the fight
Worth noting that we were both fighting for the Relic quite aggressively and it kept falling as we killed the bearers

The Warboss and retinue was now in the picture

But in my turn I sent my Termagants in

And managed to take the Orcs out

I secured a few more Objectives

I should have used my painted Gants
Time was running out as we neared the 3 hour mark. This would be the last Turn.
I Glided both Flyrants in to take out the Warlod and his unit

And managed to take the unit out
Having killed the Warlord and securing a number of objectives, the game went in my favour.

Mark needs more games with his army to familiarise himself with the rules too! Good game! 

Wednesday, August 5, 2015

Batrep: Tourney Prep - Tyranids vs Tau

Got Pat out for a game. This is part of my Tourney Prep series as I gear up more games.

My list stays pretty much the same (WYSIWYG) while Pat brought a balanced Tau army which proved to be quite mobile. His army was also WYSIWYG.

Things to note:
Tau have a preponderence for anti cover saves, anti night fight and anti air. These were key things in my mind as I prepared for deployment.

Tyranids fully painted and ready to go! 

Tau with some minor repairs
We played a modified Maelstrom mission (Contact Lost) with Emperors' Will. All secondary objectives are in play. Night fight would be in play due to Commander ORLY.

My first error: I managed to roll up Infiltrate for Warlord and 3 units. I took it but didn't know how Infiltrate worked. I picked 3 other units and redeployed a section of my army. My Hormagants which were in the picture below was moved back because I misunderstood how Infiltrate worked. I should have kept them there to deny the Kroot that massive chapel on the left of the picture.

I had also brought out the two Monstrous Creatures from the Tyrannocytes and deployed them on the table, thinking I could use Infiltration to move them up field. All they gained was 3 inches since most of the Tau was already at the edge of their deployment. In all, I should not have used the bonuses granted by the Warlord.

The space between the Carnifex and Tervigon used to be filled with Hormagants but I moved them to the opposite flank
I managed to seize and took the First Turn
My Flyrants took to the sky while the other parts of the army rushed forward. Tervi jams! 
Probably my second error. I was too caught up with the Skyray thinking it would blast my Tyrants out of the skies so I hid my Warlord behind ruins out of LOS while the Butcher (Flyrant) flew up on the ruins. The downside is that I was out of range, losing 24 S6 shots in Turn 1.

My side of the table
3rd mistake: by putting two Flyrants together, I was aiming to take out that Skyray in Turn 1. I forgot not only about range but Synapse as well. Now, I was running the risk of losing 54 Termagants and Hormagants on my right most flank.

And Pat took his turn and eliminated the Hormagants without prejudice causing them to flee. All 24 of them
Turn 2

I concentrated on securing the Maelstrom mission objectives.

Securing this 

And through some lucky shooting took out the Devilfish
 Turn 2
The initial plan of moving up to engage the Battlesuit was a flaw. It was hard to shift

I managed to score a few good points though

Pat moved his Devilfish up to contest objective 4

These Firewarriors took out my Gants to capture it
Turn 3

Another mistake on my part, I did not manage to move my Tyrannocyte over to the objective by the red tower. This had the SkyFire mysterious objective.
I was going after the Skyray again but it limps on 1 HP
Another important thing to note. The Skyray's Skyfire ability is one use only. I should have really just ignored it in favour of taking out the Sniper Drones.

Secured this

I attempted another charge but failed again.
The Tau have a special rule allowing them to fire Overwatch on any units if they are within 6" of the target being charged. This withered them down and grew the charge range, forcing me to fail it 3 times.

Fex taking snipe shots
 Turn 4
My army was thinning really quickly. 
This was really the first time any player had brought my army down to this level. There was little left!

Turn 5
Pat brought his Battlesuits down behind my lines to try to out my Tervigon and failed. I charged him for his troubles

Kill kill

I was not aware that these suits were only WS2!! 
Turn 6
There was little left to do except attempt to secure the objectives for Emperor's Will

Secured these Objectives

This was pretty much the final turn

The irritating Skyfire

Pat secured this

And contested this

We did a quick tally and Patrick came out on top. He had more objectives (I think it was 8 while I only had 5). 

The lessons above are well learnt! Thanks Pat and let's play a few more! Tweaks coming to my list! 

Tuesday, July 28, 2015

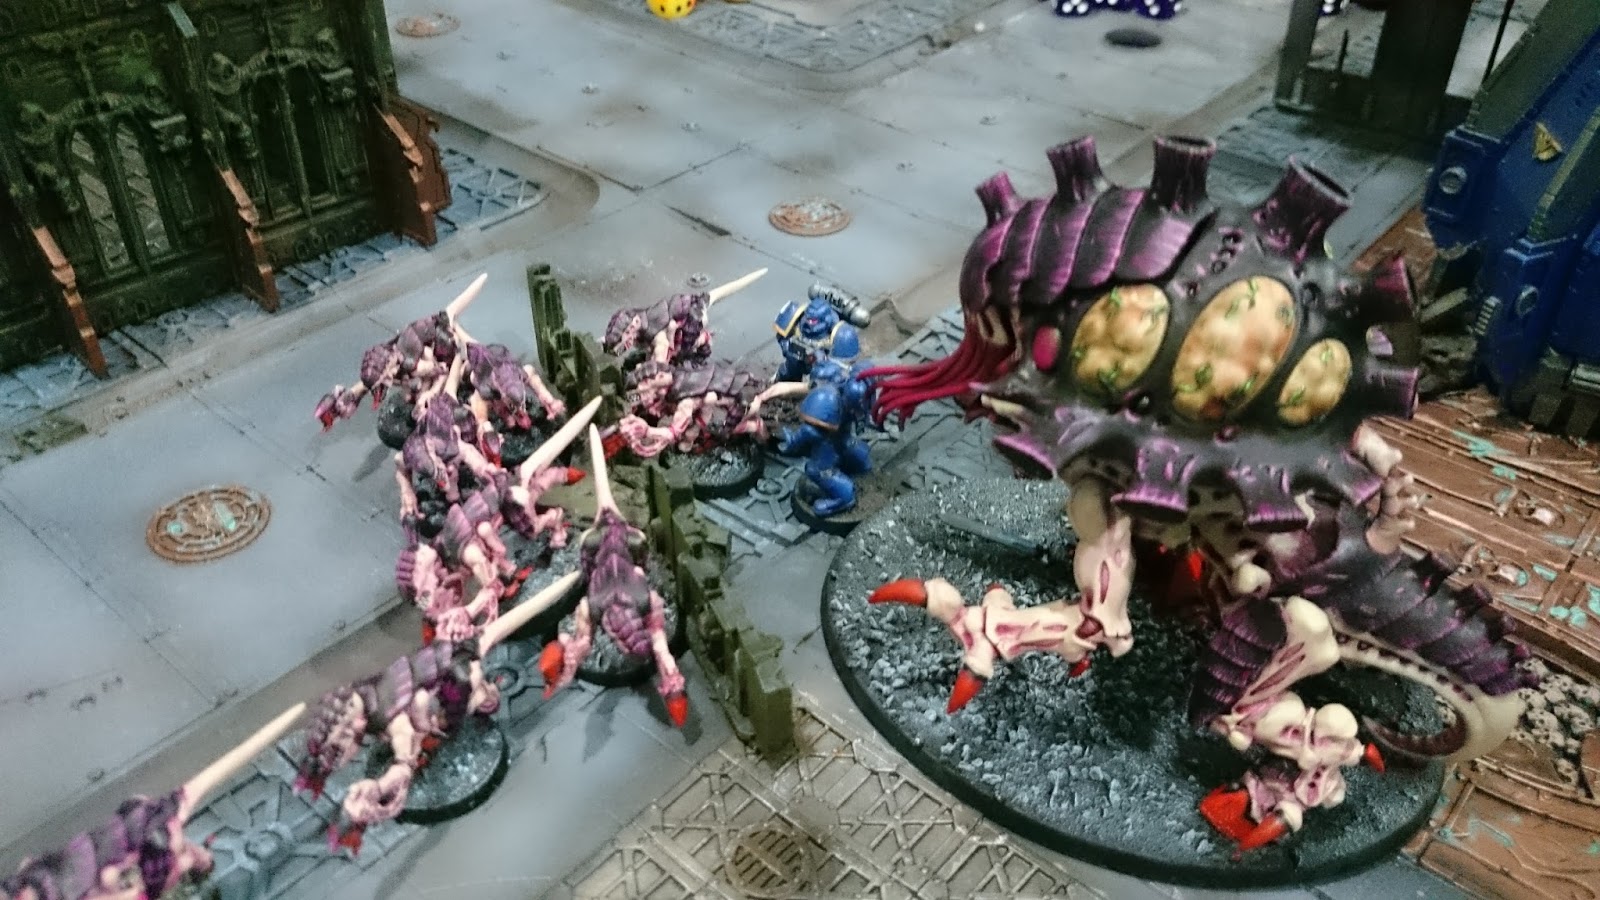
Batrep: Tourney Prep Tyranids vs Ultramarines

Marsh and I met for our usual Monday gaming at Titan. 1850 tourney lists - no quarter given. The following is the result of our 3 hour timed game. The models are pretty much WYSIWYG except for a few. 

Mission: Maelstorm + the Relic (15 points) 

Ultramarines won the roll off to choose table sides
Tyranids won the roll for First Turn so I took it

Flyrant on the ground is actually on the 2nd floor as it fell. 
LAN secured the building on my side while my Venomthropes kept out of LOS.


Used the bases to indicate my Flyrants location on the ruins. Spread the Gants out to prevent the Marines from dropping in
Unfortunately for me I rolled 3D6 and got a Perils of the Warp. I failed my Grounding Check and took 2 wounds from one Psychic Phase. It was also the Warlord. I was now on the ground and the Marines had a full turn to shoot at him.

I managed to score these 2 VPs

Marines drop right in for the Relic (the barrels) and supported the 2 units with the Bikes
The Marines moved up to secure the Relic. They also took out my Warlord, giving Marshall First Blood and Slay the Warlord.


Marines scored these 2 VPs
Turn 2
Tyrannocyte came in with the Toxicrene
I was expecting the Grav Centurions to come in to take out my Tervigon so spread the Gants further out to blanket my backfield. Some moved up to assist with the Relic.

I charged the Gants into the Marines in the hopes of tying them up
This was probably a mistake. I had Secure Objective 2 in my hand and the Gants were already sitting on Objective 2. The Space Marine bikes were right in front of the Gants but were 7" away. The Tactical Marines were 3" away. If I stuck to the plan, I would have been able to engage the Bikes and still secure Objective 2. Ahhhh hindsight.

Mid field

Tyranids didn't manage to score any VPs for Turn 2

The Centurions come in and takes out the Tervigon, wiping a big part of my backlines
The Tactical Squad up front had also charged my Gants forcing them to consolidate upwards. This was also the Squad that had the Relic. Interesting choice.

Worth noting at this point that I kept thinking the Relic was captured by the unit and was not dependent on placement. Marshall did point to the Marine that was capturing it but it did not register with me almost until the end.

Marines wipe out the unit of Gants that charged them
The 2 Stormtalons that came in managed to take out my other Flyrant. Here's where I made a mistake. After the first Storm Talon did 2 wounds, I should have Jinked for the 2nd one.

Marines scored another 2VPs
Turn 3
I was losing my Synapse network and quite quickly too. I had also made a big boo boo in Turn 2. I had the opportunity to discard a card so could have discarded Secure Objective 6 (which my Gants were caught in combat with the Tactical unit) but held onto to it.  I should have discarded Objective 6 since Tactical Marines are quite difficult to shift unless I really commit to taking them out. Lesson learnt.

In hindsight, I should have pulled the Hive Guard back onto the Skyfire Objective 4. Jinking would not have made a difference as I was on Ruins which conferred a 4+ cover anyway. I held onto Scour the Skies because I did not expect the Flyrant to die from one round of shooting.

While I managed to fail the Synapse check on the Toxicrene, I was still able to move it towards the Relic Tacticals
The rest of my army attempted to create a no mans land between the Relic and the Marines, isolating the Tactical Squad holding onto the Relic. It was worth 15 points hence I was keen to get it.

Toxicrene charges in to take out a few Marines
 
In desperation I charged these Gants in but lost 1 for my troubles

Failed to score any
Note to self:  In this game, I continually forgot to consider discarding cards as I was hard pressed by time and felt bad holding it up. However, I have the right to consider dropping the cards. I will not be pressured into making decisions from now and will remember to drop the cards that I will struggle to score.

In the combat I finally managed to kill off the Tactical unit holding the Relic

Stormtalons were in my deployment zone now

Marshall scored another 2
Turn 4
I now had the opportunity to grab the Relic and win the game. However, 3 hours was up and since we were playing under tourney conditions, it meant the game would be called at the end of Turn 3. I couldn't take Turn 4 hence could not capture the Relic. A real waste!

End game shots

End game shots 2
We tallied the VP's from the Maelstrom cards and Marshall clearly came out on top, scoring 9 to my 2. I was determined to win this game by going for the Relic but was beaten by time. Would it have made a difference? Considering the Marines still had a lot of firepower, Marshall could have targeted the unit with everything he had and forced my Termagant to drop the Relic. Would it have made more sense to put it on the Toxicrene? Yes, very likely with T6 and natural Stealth. However, I wanted to use the Toxicrene to charge the other Tactical Unit and get away from the Centurions in my back line. My original plan was to get the Relic back to my lines using the Termagants and within Venomthrope cover. Assuming they survived the ThunderFire Cannon, that would have been game.

Well hindsight is powerful! Now let's play this mission again but this time with my other list. Let's see how it does. 

LinkWithin

Related Posts Plugin for WordPress, Blogger...