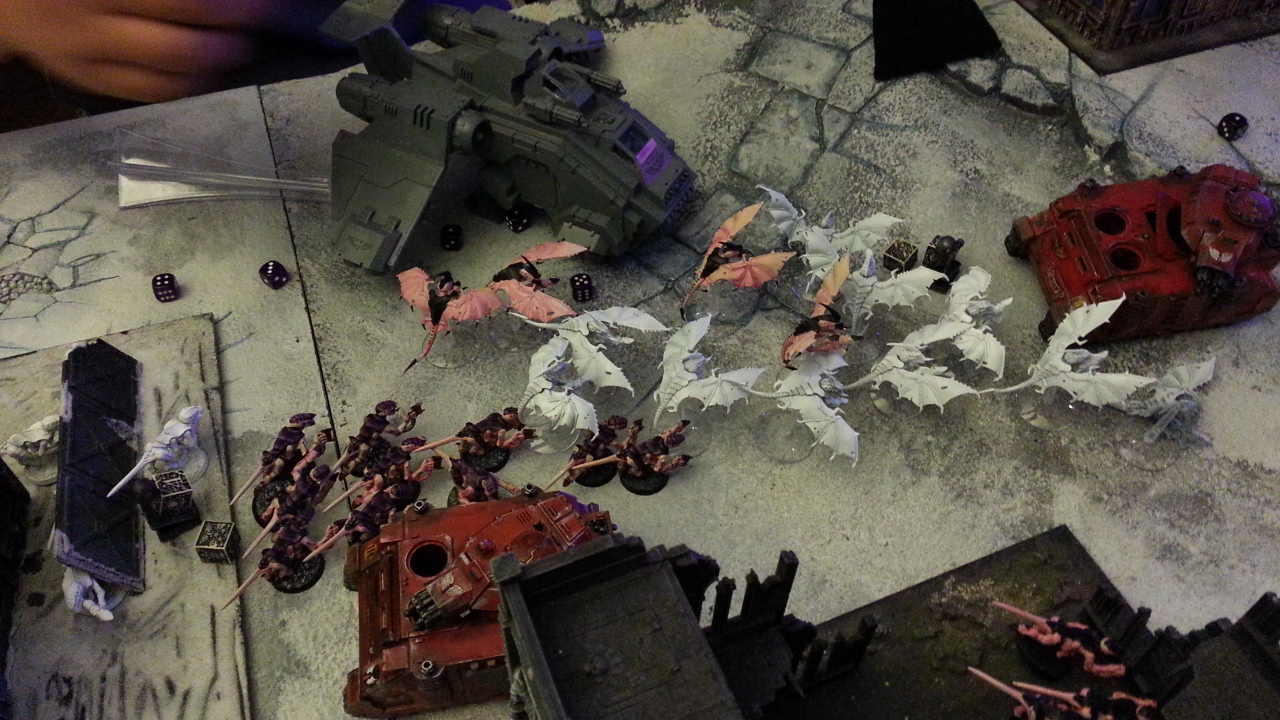
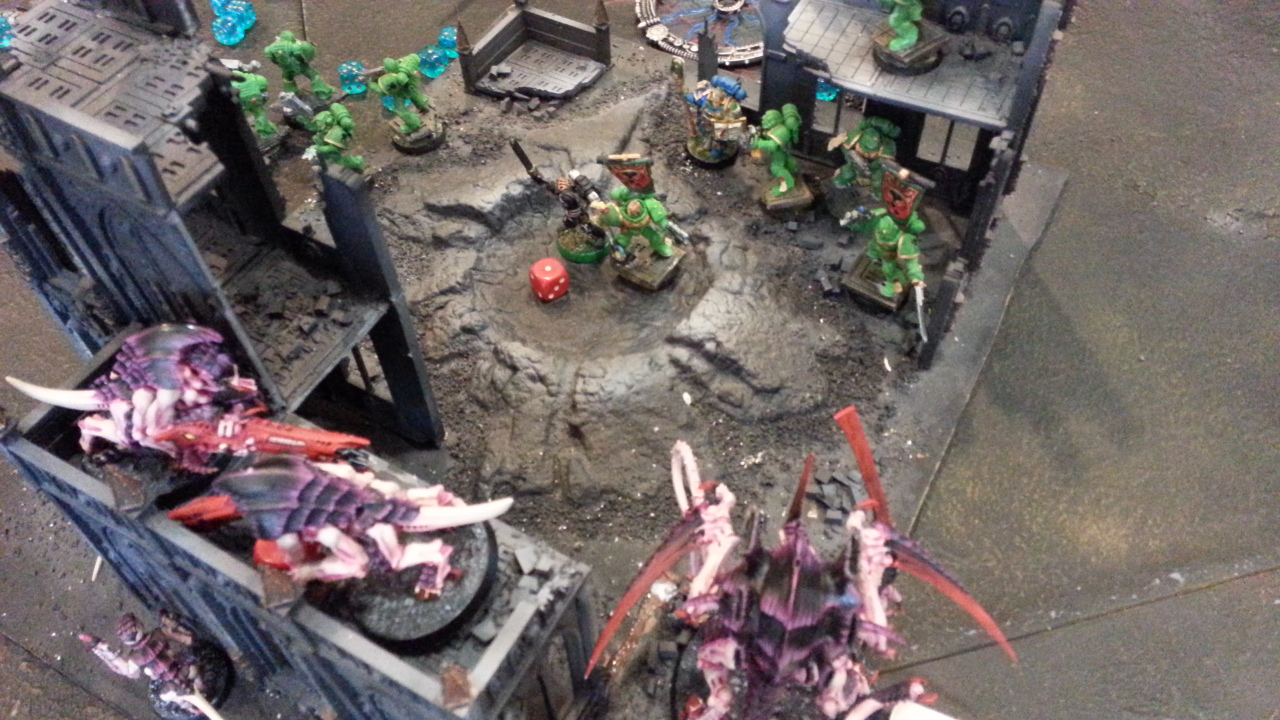
I had the opportunity to play with Marshall yesterday over at Battle Bunker. He is a fellow Hive Mind and one that I ran into regularly at our usual game stores. Really nice guy, no air about him and certainly one that I would recommend playing with. He brought a 1750 Blood Angels list and we rolled off on the usual prebattle stuff.
Twin link assault cannon, cyclone missiles, 4 blood strike missiles, locator beacon
HQ
* Hive Tyrant (285pts)
(Psyker, Shadow in the Warp, Synapse Creature)
Bonded Exoskeleton, Old Adversary (25pts), Paroxysm, Psychic Scream, 2x Twin-linked Devourers with Brainleech Worms (30pts), Wings (60pts)
* Hive Tyrant (260pts)
(Psyker, Shadow in the Warp, Synapse Creature)
Bonded Exoskeleton, Paroxysm, Psychic Scream, 2x Twin-linked Devourers with Brainleech Worms (30pts), Wings (60pts)
+ Elites + (430pts)
* Hive Guard Brood (150pts)
* 3x Hive Guard (150pts)
(Instinctive Behaviour - Lurk)
3x Claws and Teeth, 3x Hardened Carapace, 3x Impaler Cannon
* Hive Guard Brood (150pts)
* 3x Hive Guard (150pts)
(Instinctive Behaviour - Lurk)
3x Claws and Teeth, 3x Hardened Carapace, 3x Impaler Cannon
* The Doom of Malan'tai (130pts)
(Absorb Life, Fearless, Instinctive Behaviour - Feed, Psychic Strength, Psyker, Shadow in the Warp, Spirit Leach, Warp Field)
Cataclysm, Claws and Teeth, Reinforced Chitin
* Mycetic Spore (40pts)
(Deep Strike, Fearless, Immobile Pod, Limited Sentience, Transport Spore)
Hardened Carapace, Lash Whip, Ripper Tentacles
+ Troops + (455pts)
* Termagant Brood (55pts)
* 11x Termagant (55pts)
(The Scuttling Swarm)
11x Chitin, 11x Claws and Teeth, 11x Fleshborer
* Termagant Brood (50pts)
* 10x Termagant (50pts)
(The Scuttling Swarm)
10x Chitin, 10x Claws and Teeth, 10x Fleshborer
* Tervigon (175pts)
(Brood Progenitor, Psyker, Shadow in the Warp, Spawn Termagants, Synapse Creature)
Bonded exoskeleton, Catalyst (15pts), Claws and teeth, Cluster Spines, Dominion
* Tervigon (175pts)
(Brood Progenitor, Psyker, Shadow in the Warp, Spawn Termagants, Synapse Creature)
Bonded exoskeleton, Catalyst (15pts), Claws and teeth, Cluster Spines, Dominion
+ Fast Attack + (120pts)
* Gargoyle Brood (120pts)
* 20x Gargoyle (120pts)
(Instinctive Behaviour - Lurk)
20x Blinding Venom, 20x Chitin, 20x Claws and Teeth, 20x Fleshborer, 20x Wings
+ Heavy Support + (200pts)
* Trygon (200pts)
(Deep Strike, Fearless, Fleet, Subterranean Assault)
Bio-electric Pulse, Bonded Exoskeleton, Scything Talons (two sets)
I won the rolloff for deployment and selected the table half to deploy my gribllies.
 |
| Nids deployment |
Flanked my army on both sides with my Tervigons and Flyrants to provide double Synapse coverage. Marshall is a Nid Hive Mind so will be looking out for opportunities to deny me my Fearless rolls. Cunning fella!
 |
| Blood Angels deployment |
While the model you see here does not have wings, both Tyrants actually are Flyrants. I am building it! This was meant to be my mobile force, threatening anything that outshoots me.
This actual flying tyrant is my Warlord. Managed to cast Iron Arm on it in the first Turn for +1 Str and Toughness.
 |
| Pushed forward |
My right flank was stronger of the two and Marshall deployed likewise, to mirror and threaten my right flank. The 4 point objective was sitting in his table half but I had my Gargoyles and Flyrant eyeing it. I pushed my right flank quite aggressively considering I had the Trygon and Iron Arm Flyrant here.
 |
| Turn 1 BA pushes forward to engage the Nids |
Marshall was equally aggressive. We both agreed that aggressive armies are best played that way and when two meet, you get lots of blood and action. Marshall poured all the firepower he had into two main units I had. The Trygon and a unit of Hive Guard sitting closer to the back of my lines.
 |
| My left flank and the 4 point objective. |
After a punishing round of shooting, my Trygon took 5 wounds and was teetering on it's last wound. Ouch.
And I also lost 2 Hive Guards from this unit from the 1st turn of shooting.
 |
| Tyranids movement Turn 2 |
 |
| Doom of Malantai says Hi |
In turn 2, my Doom of Malantai decided to drop by and say "hi". Out it popped but managed to do very little. Booo. On the bright side, both my Tervigons were still able to generate Termagants.
 |
| Turn 2 Tyranids |
I sent my unit of 11 back to the rear of my army to hold this other objective.
 |
| Turn 2 shooting from Tyranids - turning point? |
Managed to channel a ton of shots into the Space Marines at the back. Took out a few marines and in return forced a morale check which they actually failed and when Marshall rolled for distance, it was a 10 on 3D6. It was enough to put them off table.
 |
| Turn 2 Tyranids shooting |
Managed to destroy a tank by shooting it in the back
 |
| So they fled leaving a big patch of white |
 |
| Charged my Trygon and Gants in |
 |
| BA managed to take out most of my Gants leaving 1. Trygon survives! |
 |
| The advance continues in Blood Angels' Turn 2 |
I don't really understand why Marshall left my Doom of Malantai alone. I had already taken 2 wounds from my own psychic casting and he didn't engage it. He was moving towards my Hive Guard and Tervigon
 |
| Pop goes the Trygon |
In the Blood Angels' Turn 2, he won the combat and consolidated closer towards the objective.
I sent all my Gant units fleeing as far as possible from the inevitable death of my Tervigon.
 |
| Turn 3 Tyranids |
While I kept the pressure up on my left flank, his right flank. With both Flyrants getting behind his tanks, I managed to pop another one. The Warlord decided to shoot into his HQ unit and killed off a few more.
 |
| Run and stay 12" away from the Momma! |
 |
| Turn 3 Tyranids |
So try as I might, the Tervigon's death caused quite a lot of popping of smaller Gants. There was little I could do so I lost about 3 units of Gants who were meant to capture objectives. On the bright side, neither did he have units to capture objectives.
 |
| Turn 3 Blood Angels |
Marshall had quite a bit of bad luck with his Reserve rolls. He had not been able to bring in the Stromraven until Turn 3. With a sigh of relief, it finally arrives.
 |
| Drive through, I had to make way. |
Marshall quickly took out my Flyrants with his Stormraven. I lost one of the Flyrants in one round of shooting. Now that is one dangerous flyer.
 |
| Turn 4 Tyranids |
I advance my Warlord up to try to save the remaining Hive Guard and also destroy a few Marines.
 |
| Turn 4 Tyranids |
Before I could assault with my Tervigon, the remaining Hive Guard managed to pop the can. Nice
 |
| Turn 4 I charge in together with the Gargoyles |
 |
| Unbelievable |
So Gargoyles has this special rule that allows them to wound on 6's. Guess how many 6's I rolled?
 |
| Keep grinding |
 |
| Turn 4 Blood Angels - not much left to do |
 |
| So he drops his Furioso Dread |
 |
| Finally able to remove the last Marines |
 |
| 3 points so I hugged really tight |
 |
| Turn 5 Tyranids and Blood Angels end turn |
It was here that Marshall realised there was little he could do to prevent me from taking the game. He was however gracious enough to finish the game. Great sportsmanship!
 |
| Man of the Match |
Conclusion:
Tyranids: First Blood, Slay the Warlord and Objectives, Fast Attack kills
1+1+3+3 = 8 points
Blood Angels: 0 points
A good list is important in 6th Edition and that is something that we cannot ignore. I do not know how Marshall could have played differently but I felt the points sunk into the 3 Fast Attack Baal Predators did not do that much in this game for me. 2 Flyrants are also very tactically useful units. I was able to dictate where and when I get to strike and my opponent had no way to react. In all, I enjoyed the game. Marshall will be re-writing his list and will be back with vengeance I am sure.
I am still contemplating the use of Doom of Malantai. I am not sure if he is able to earn his points back (including the point cost of his Micetic Spore Pod). Still, I plan to use this list at least another 4 more times before any conclusions.